Introduction
If you’re a Mac user, chances are you’ve recorded your screen or videos using QuickTime Player. It’s a great built-in tool that produces high-quality .mov videos—ideal for tutorials, presentations, and more.
However, there’s a catch: QuickTime videos can be surprisingly large, quickly taking up precious storage space and making them cumbersome to share. That’s where video compression comes in.
What Makes QuickTime Videos Different?
QuickTime videos are typically saved in the .mov format, known for its high-quality video and audio capabilities. Unlike other formats such as .mp4 that balance quality and size more aggressively, .mov files tend to preserve as much detail as possible. Here’s why they’re generally bigger:
- High-Bitrate Recording:
QuickTime recordings usually have a high bitrate—this means more data is stored per second of video, resulting in clearer visuals but also larger file sizes. - Minimal Compression:
QuickTime favors quality over file size, using minimal compression techniques by default. While this preserves detail, it also leads to bulkier videos. - Native Apple Format:
The .mov format is optimized for Apple’s ecosystem, which is great for playback on Macs and iPhones but can pose challenges when sharing across different devices and platforms.
How to Compress QuickTime Videos
There are several effective methods to compress QuickTime videos, ranging from online services to local software solutions. Below, we explore two prominent online tools that cater to different user needs.
Online Video Compression Services
RedpandaCompress: Fast, Free, and Privacy-Focused
RedpandaCompress is a user-friendly, browser-based tool designed for quick and efficient video compression. It supports various formats, including .mov, making it ideal for QuickTime videos.
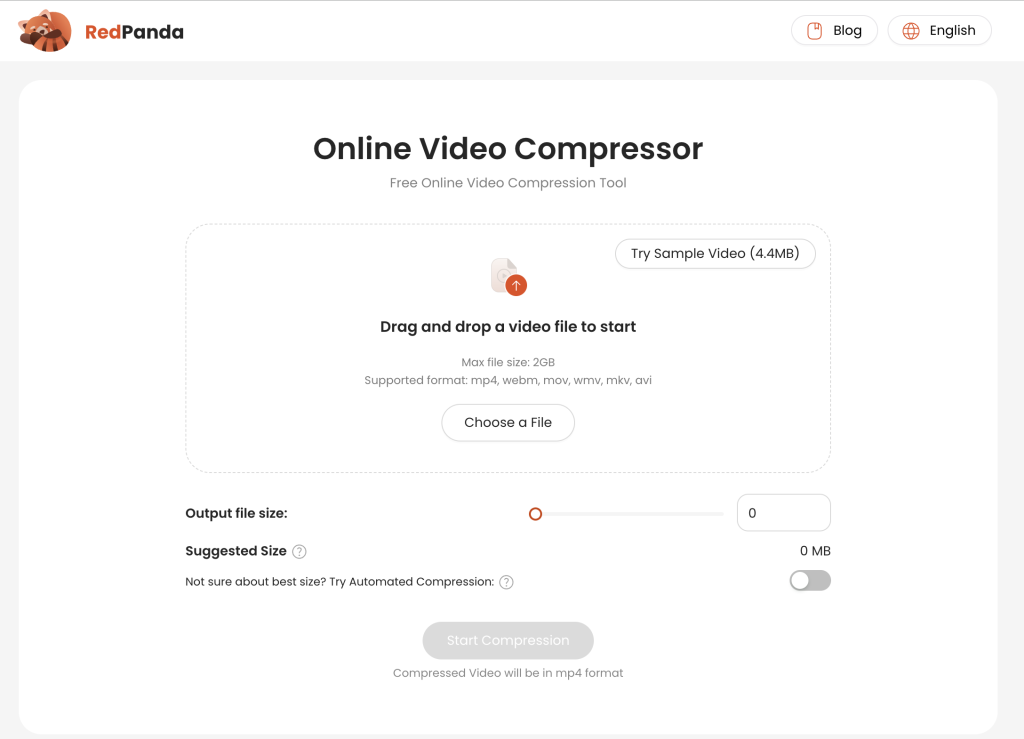
Key Features:
- No Registration Required: Compress videos without the need to sign up or log in.
- Free and Unlimited Usage: Compress videos up to 2GB without any cost.
- Privacy-Centric: All compression processes occur within your browser, ensuring that your videos are not uploaded to external servers.
- Customizable Output: Set your desired output file size or opt for automatic compression suggestions.
- High-Quality Results: Maintains excellent video quality post-compression.
Ideal For: Users seeking a straightforward, no-frills solution for compressing QuickTime videos without compromising on privacy or quality.
FreeConvert: Advanced Compression with Extensive Format Support
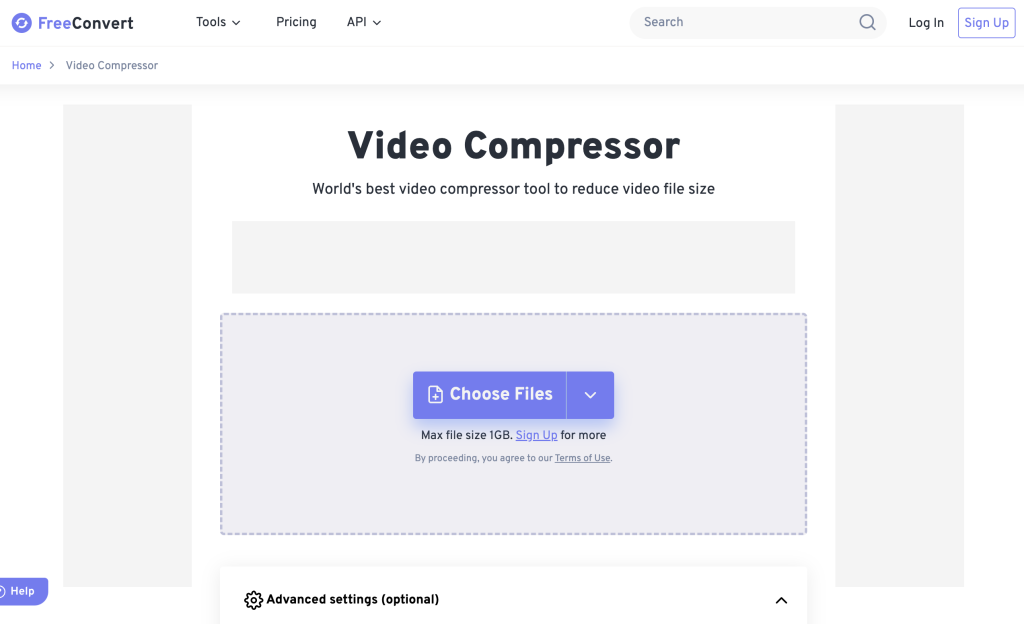
FreeConvert offers a comprehensive suite of tools for video compression, catering to users who require more control over the compression process. It supports a wide array of video formats, including .mov, and provides advanced settings for customization.
Key Features:
- Broad Format Compatibility: Supports over 60 video formats, including MP4, MOV, AVI, and MKV.
- Advanced Compression Settings: Adjust parameters such as codec (H.264 or H.265), resolution, bitrate, and target file size.
- Batch Processing: Compress multiple videos simultaneously.
- Security Measures: Files are encrypted during transfer and automatically deleted after processing.
- API Access: Offers a Video Compression API for developers and businesses.
While FreeConvert provides robust features, it’s worth noting that the free version has limitations, such as a maximum file size of 1GB and a daily conversion limit. For larger files or increased usage, subscription plans are available starting at $12.99 per month.
Ideal For: Users who need advanced compression options and are willing to navigate a more complex interface for greater control over output settings.
Free Local Software for Compressing QuickTime Videos
If you prefer not to upload your videos online or want even more control over the compression process, free local software like HandBrake and FFmpeg are excellent choices. They’re reliable, powerful, and versatile.
HandBrake: Easy-to-Use and Powerful

HandBrake is a free, open-source video transcoder that works on Mac, Windows, and Linux. It’s particularly popular for compressing large video files like QuickTime .mov recordings, offering a user-friendly interface and robust features.
Key Features:
- Drag-and-Drop Simplicity: Import your video, pick a preset, and start compressing within minutes.
- Presets for Different Devices: HandBrake has built-in profiles for everything from web streaming to mobile devices.
- Adjustable Compression Settings: Customize bitrate, resolution, and video codec (H.264, H.265) to achieve your desired file size and quality.
- Batch Processing: Compress multiple videos in one go for extra efficiency.
How to Use HandBrake for QuickTime Videos:
- Download and install HandBrake from the official website.
- Open HandBrake and drag your QuickTime .mov file into the interface.
- Choose a preset (e.g., “Fast 1080p30” for HD video).
- Adjust settings like bitrate or resolution in the “Video” tab if you want finer control.
- Click “Start Encode” to begin compression.
HandBrake is ideal if you want a balance between ease of use and customization.
FFmpeg: Ultimate Control for Advanced Users
FFmpeg is a powerful, command-line tool that offers complete control over video compression, conversion, and editing. It’s a favorite among developers, video professionals, and power users.
However, FFmpeg has a steeper learning curve than HandBrake, but it offers unmatched flexibility and power. If you are interested, please refer to its official doc for further steps
Conclusion
Whether you’re looking for a simple online solution or prefer the control of local software, compressing QuickTime videos doesn’t have to be intimidating. Online tools like RedpandaCompress and FreeConvert are perfect for quick, hassle-free results. For those who want more customization, HandBrake and FFmpeg provide all the flexibility you need. With these tools, you can easily shrink those hefty QuickTime .mov files and keep your workflow light and efficient.

Fei is a skilled software engineer. He previously worked at Google and now at a startup. His expertise includes web media processing, cloud architecture, complex algorithms, and AI training and deployment. Beyond work, Fei enjoys diving into new knowledge and is a big fan of strategy games.

